


-
Topics
-
-
Our picks
-

Toyota GR Supra GT4 EVO2
Toyota Owners Club posted a record in Toyota News & Articles,
Toyota Gazoo Racing (TGR) is now accepting orders for the new GR Supra GT4 EVO2. Vast feedback from racing teams and drivers around the world has been leveraged to produce an evolution of the GT car that delivers higher performance, reliability and operability.
Since the launch of the GR Supra GT4 in 2020, more than 120 cars have been sold. The efforts of teams and drivers have seen it win GT4-series races and international events in 11 countries worldwide, gaining more than 500 podium finishes and becoming the class champion in Asia, the USA and Europe.
Picked By
Toyota Owners Club, -
-
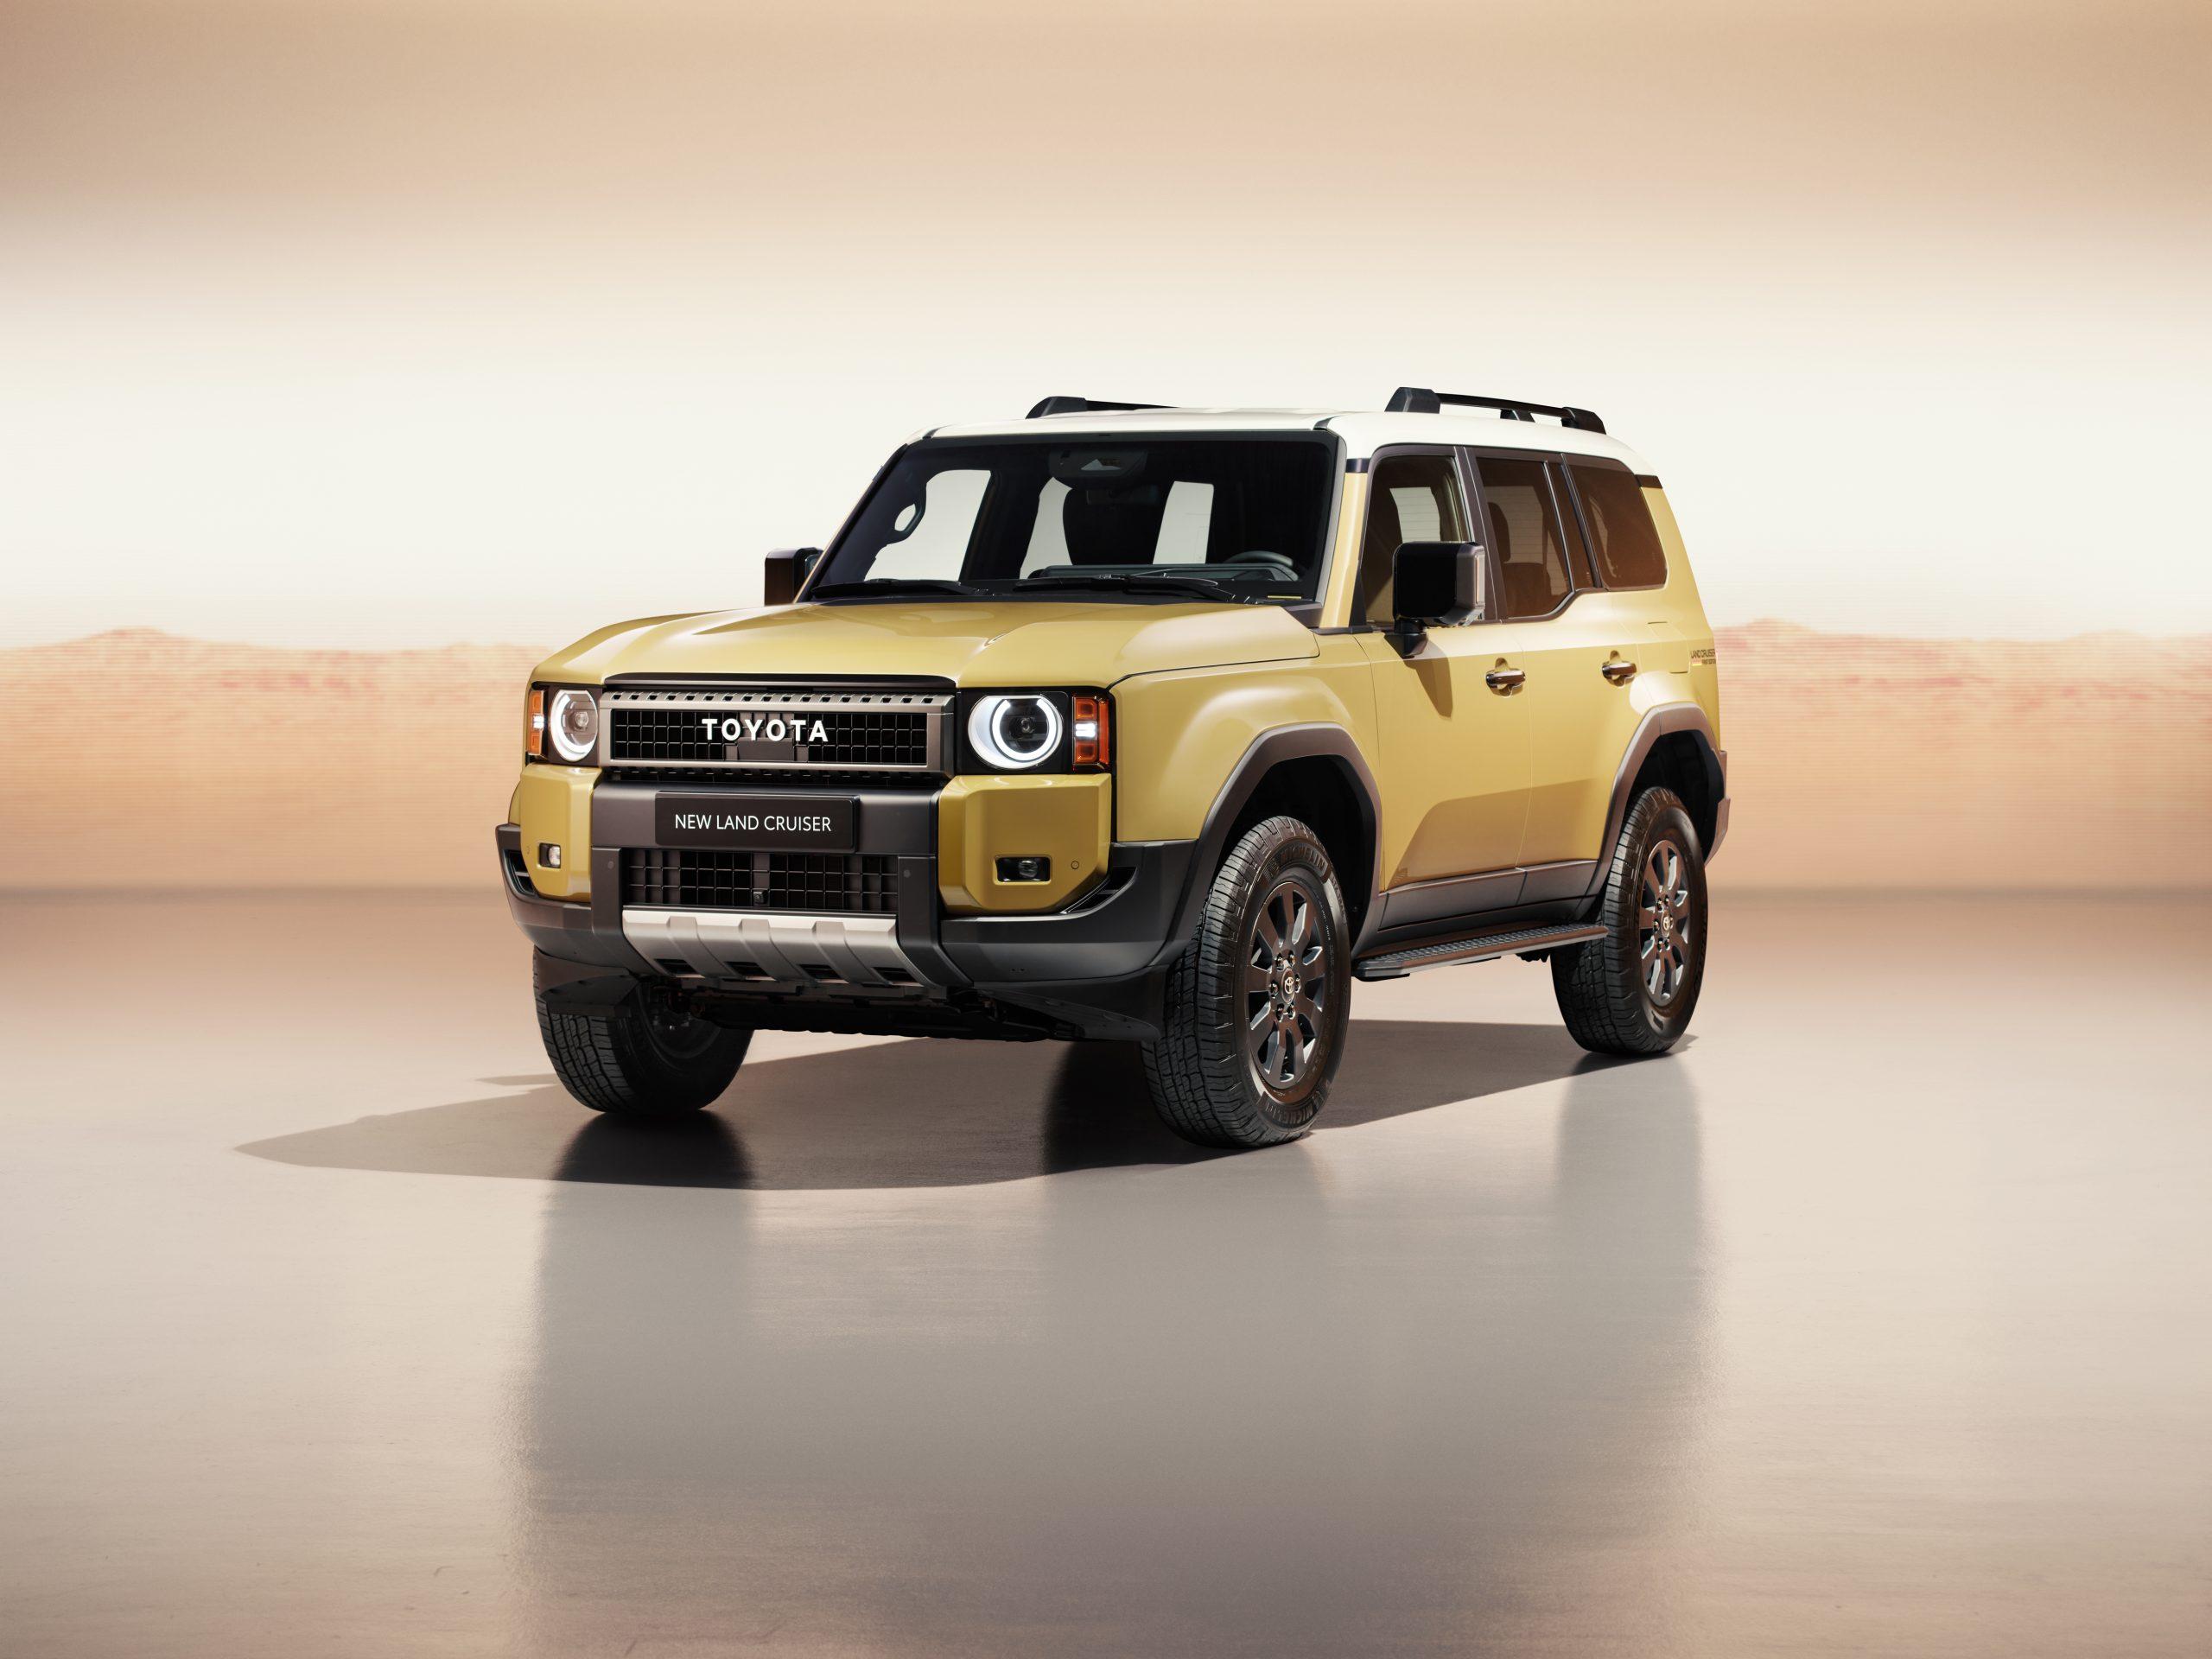
Going back to its origins: World premiere of the all-new Toyota Land Cruiser
Toyota Owners Club posted a record in Toyota News & Articles,
Toyota today proudly reveals the all-new Land Cruiser, a model that draws directly on the original qualities that have made the Land Cruiser name synonymous with strength and reliability for more than 70 years
Picked By
Toyota Owners Club, -
-
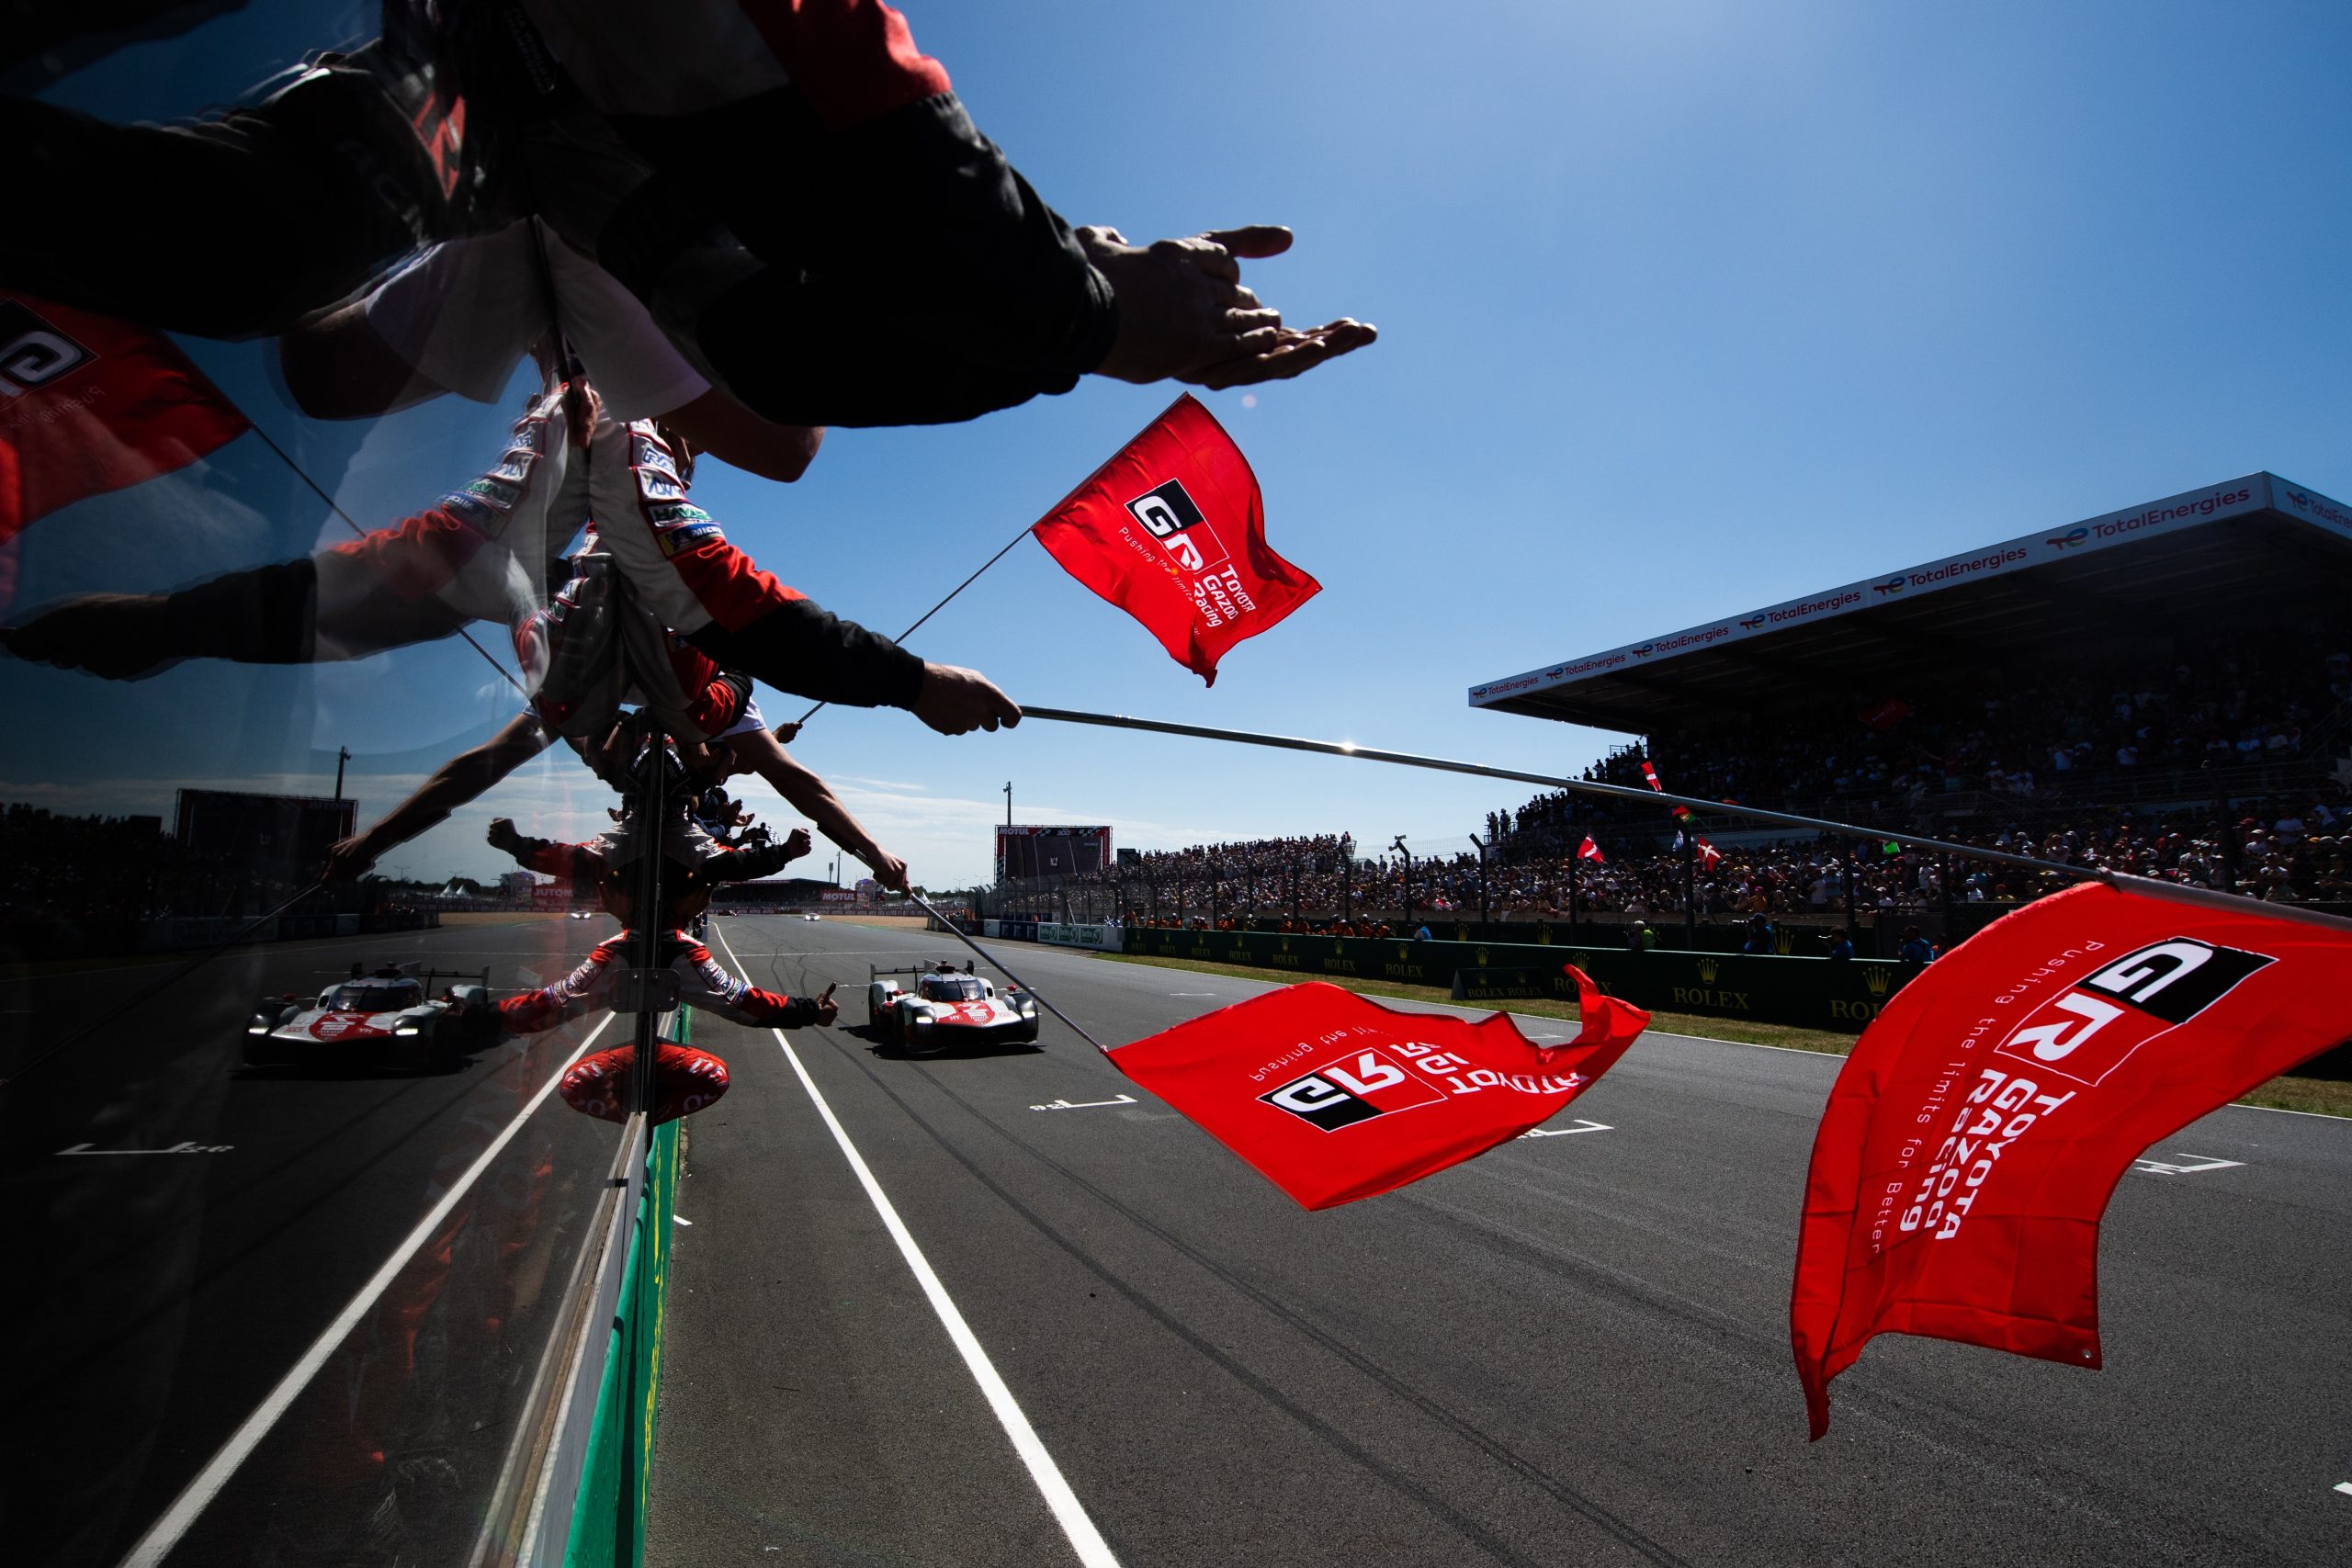
Toyota Gazoo Racing prepares for historic centenary edition of the Le Mans 24 Hours
Toyota Owners Club posted a record in Toyota News & Articles,
Toyota Gazoo Racing will contribute to another chapter in the history of Le Mans when they take on a record Hypercar field in the centenary edition of the world’s most famous endurance race next week (10-11 June)
Picked By
Toyota Owners Club, -
-
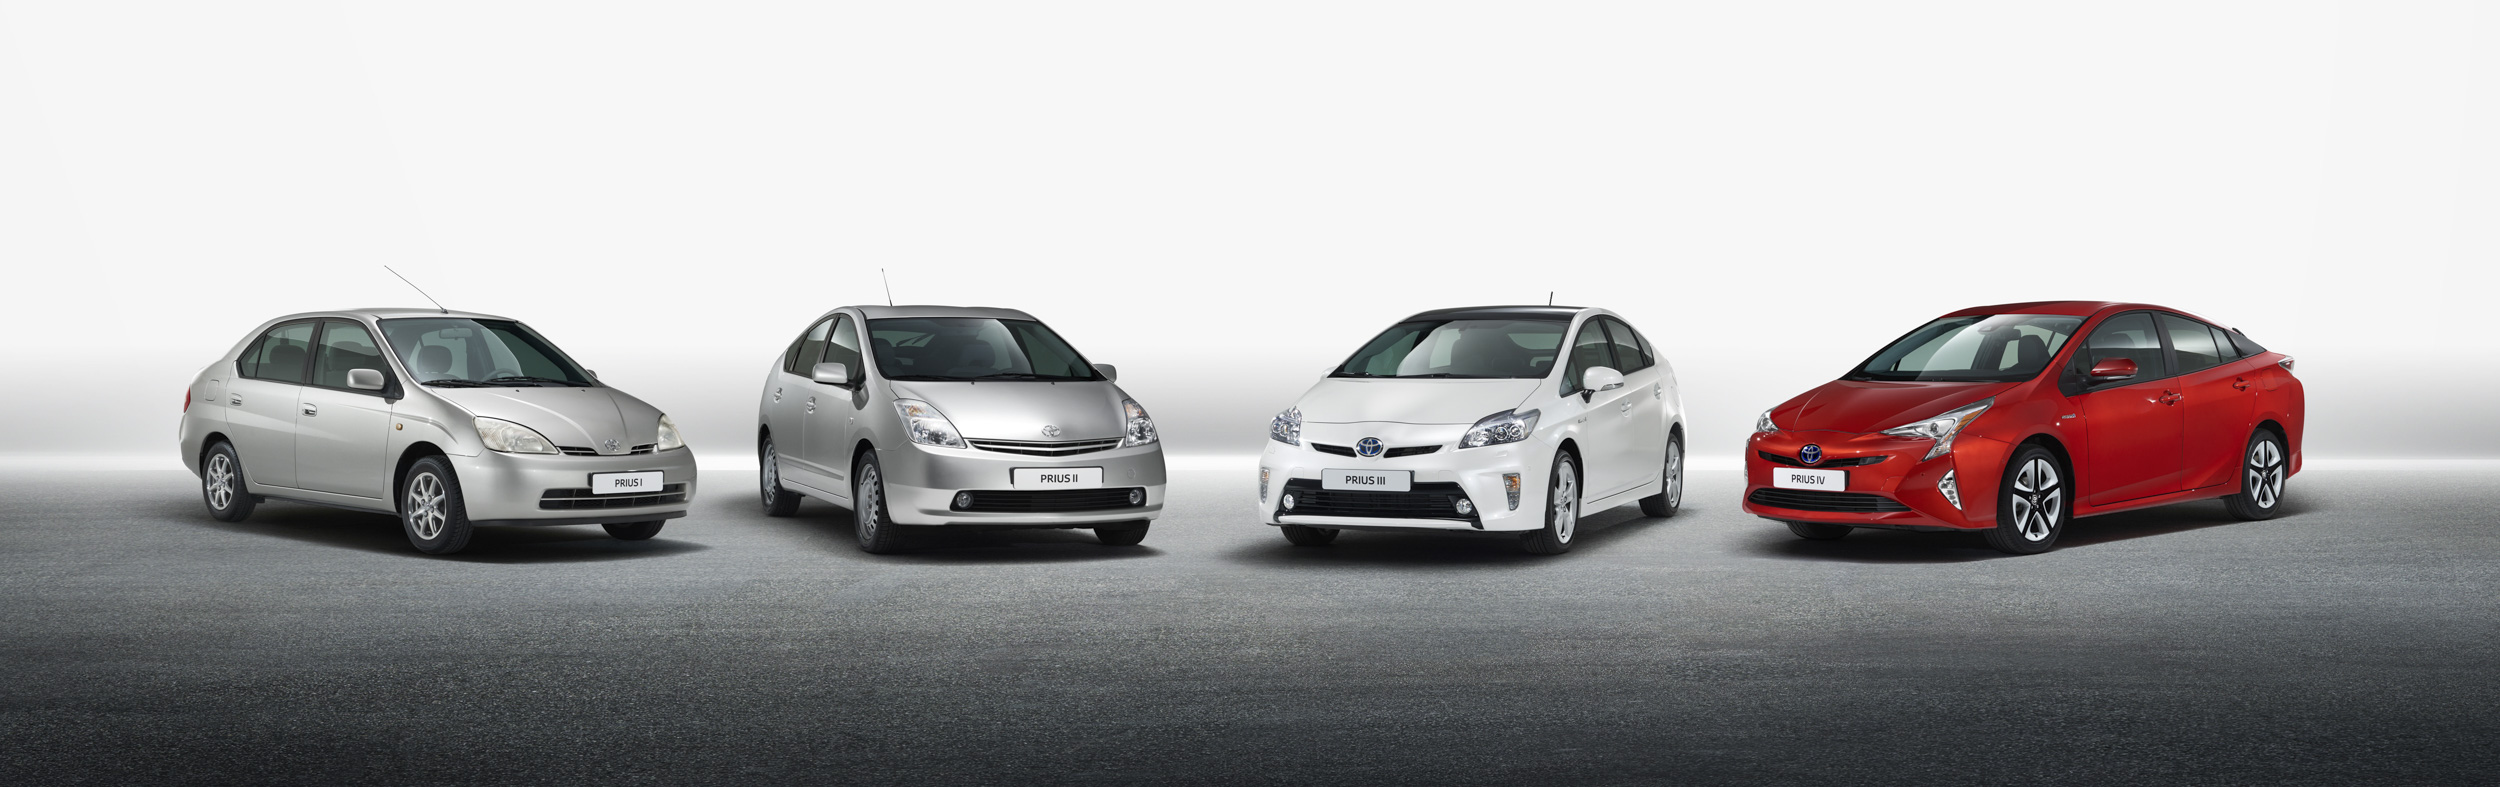
Toyota Prius honoured with lifetime achievement award
Toyota Owners Club posted a record in Toyota News & Articles,
The Toyota Prius’s status as the pioneer that paved the way for today’s electrified vehicle market has been recognised with a lifetime achievement award in the TopGear.com Electric Awards 2023
Picked By
Toyota Owners Club, -
-
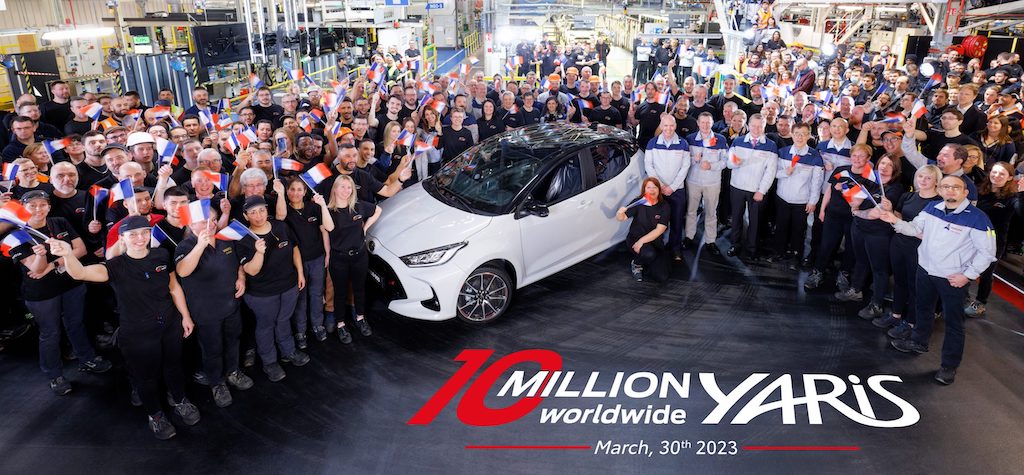
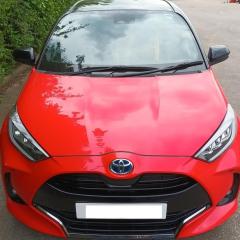
Toyota Yaris reaches the landmark of 10 million global sales
Toyota Owners Club posted a record in Toyota News & Articles,
The ever-popular, multi-award-winning Yaris* nameplate has reached 10 million cumulative worldwide sales, performance which earns it a place alongside Toyota’s illustrious eight-figure achievers – Corolla, Camry, RAV4, Hilux and Land Cruiser
Picked By
Toyota Owners Club, -
-


Recommended Posts
Toyota Official Store
Sponsored Ad
Name: eBay
Toyota Model: Toyota Store
Toyota Year: 2024
Latest Deals
Toyota Official Store for genuine Toyota parts & accessoriesDisclaimer: As the club is an eBay Partner, The club may be compensated if you make a purchase via eBay links
Create an account or sign in to comment
You need to be a member in order to leave a comment
Create an account
Sign up for a new account in our community. It's easy!
Register a new accountSign in
Already have an account? Sign in here.
Sign In Now